Now about the forth picture.
Lõika vahtpapis (paksus 5 mm) välja sobivas mõõdus raam. Raami siseosa katsu välja lõigata tervena.
Cut out a frame from the foamboard with thickness ca 5 mm. Try to cut out the inner part in one piece.

Siis lõika papist välja raami välismõõtudele vastav tükk ning linasest kangast nii suur tükk, et ulatub keerata üle raami servade.
Then cut the piece from cardboard in the sizes of the frame and from a linen cloth a piece that big piece that reaches to turn over the edges of the frame.

Esmalt liimi raamile papp ja siis papiga külg kangale.
First glue the cardboard piece on the frame and then the frame with cardboard side to the fabric.

Pööra ja liimi kanga servad üle raami servade.
Turn the fabric over the edges of the frame and glue the edges.

Liimi väljalõigatud keskosa tagasi nii, et see kinnitaks kanga servad.
Glue the inner part you cut out earlier back so that it fasten the edges of the fabric.

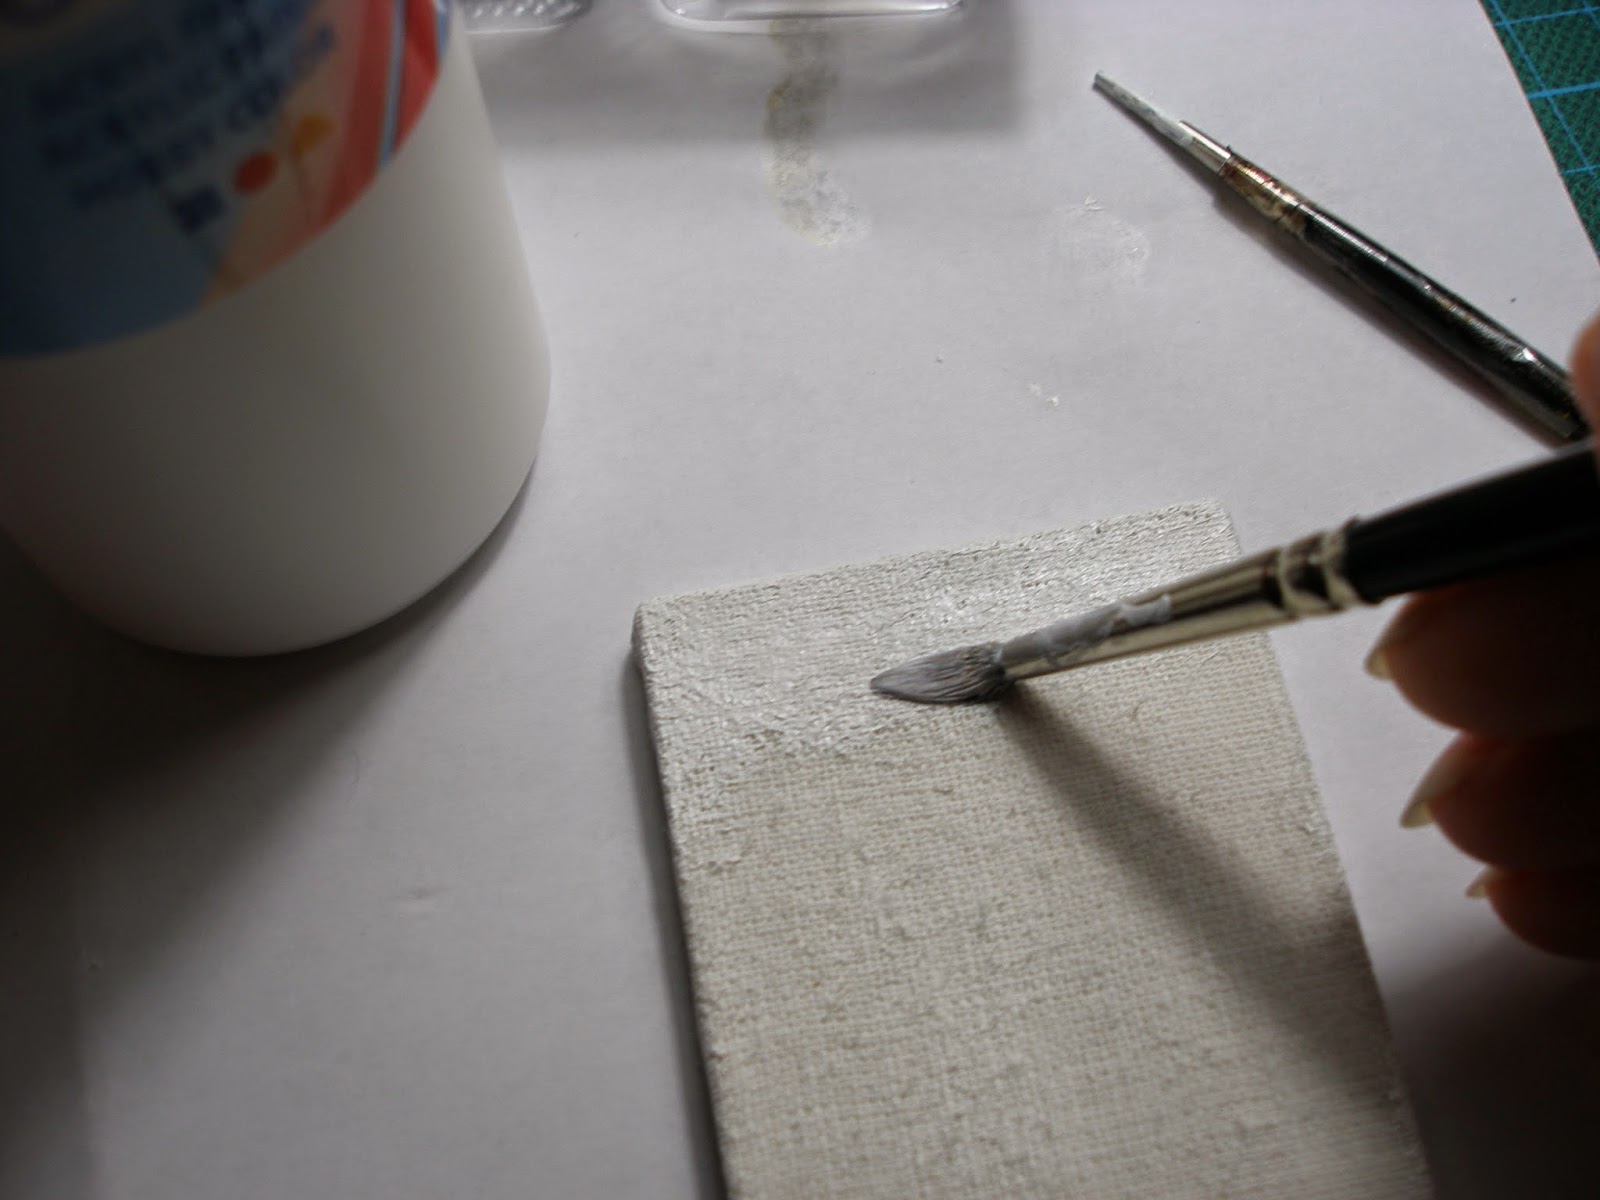
Kui liim kuivanud, kata kangas valge akrüülvärviga (et saada lõuendi effekt).
When the glue has dried, cover the fabric with white acrylic paint (to get the effect of the canvas).
Kui värv kuivanud, võid "lõuendile" kas ise joonistada pildi või lõigata näiteks salvrätist sobiv pilt ja liimida see mati lakiga raamile.
When the paint has dried, you can paint the picture on "canvas" by yourself or to cut a picture from the tissue as I did and glue it to the frame with matt varnish.

Kui kasutada salvätitehnikat, siis võib hiljem lisada pintsli otsaga valget akrüülvärvi paksema kihina ümber pildi ja ka pildi peale, et saada tekstuurne effekt.
If you use tissue, you can add a thicker layer of acrylic white paint with a tip of the brush around the image, and also to the image to get a textured effect.
